Branding
School identity assets for portals and PDFs: display name (read-only) and school badge upload.
Who can use this
- ADMIN
Path
/settings/branding
Dependencies
- School profile fields are edited in School settings.
- Badge appears on report cards and letterheads after upload.
Screenshot
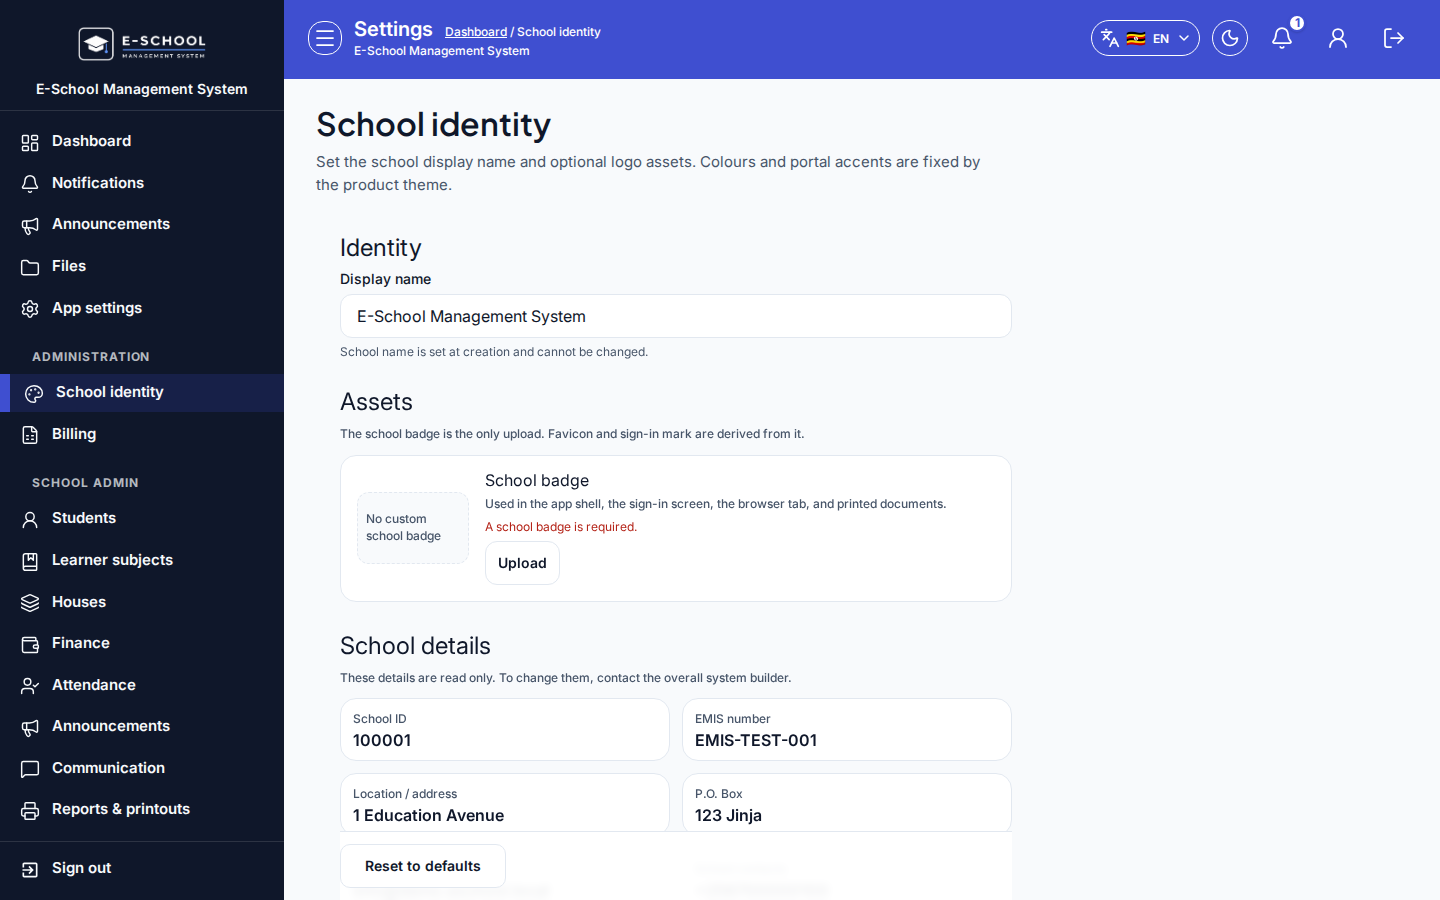
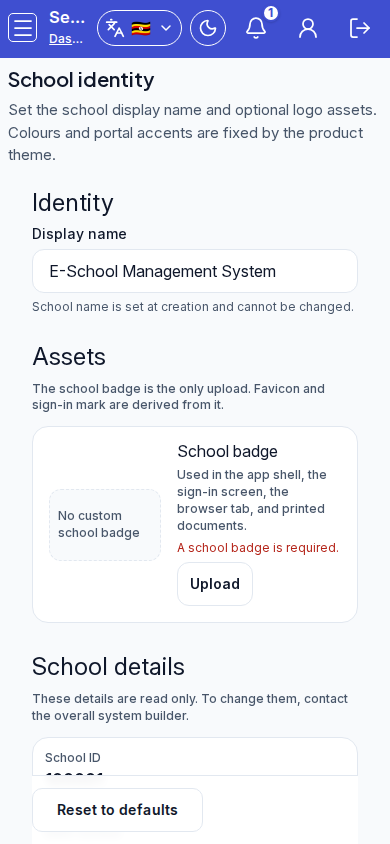
Steps
- Open School identity (Branding) at
/settings/brandingas ADMIN. - Confirm Display name under Identity. Review read-only School ID, EMIS, location, P.O. Box, email, and contacts.
- Under Assets, Upload a school badge (or Remove an old one).
- Use Reset to defaults only when intentionally clearing custom identity assets; confirm Reset.
- Return to School settings if contact/address text needs changing.
Fields and actions
- Identity: Display name (read-only)
- Assets: School badge Upload / Remove
- School details (read-only block)
- Reset to defaults
Common mistakes
- Huge badge files slowing PDF generation
- Expecting password or role rules here
- Editing address here (fields are read-only - use School settings)